Welcome to the fascinating world of Tillandsias, commonly known as air plants. Unlike traditional plants, these ethereal beauties don't require soil to grow, instead absorbing water and nutrients through their leaves. Native to the forests, mountains, and deserts of Central and South America, air plants have adapted to a variety of climates, making them an incredibly versatile addition to your indoor plant collection. In this ultimate guide, we'll explore the essentials of air plant care—lighting, watering, feeding, and more—to help you cultivate a thriving indoor garden.
Understanding Air Plants

Tillandsias, a genus from the bromeliad family, have a magical quality that captivates plant enthusiasts. These hardy plants attach themselves to rocks, trees, shrubs, and the ground in their native habitats without the need for soil. Their roots serve mainly for anchorage, fulfilling a structural role rather than the absorptive function seen in terrestrial plants.
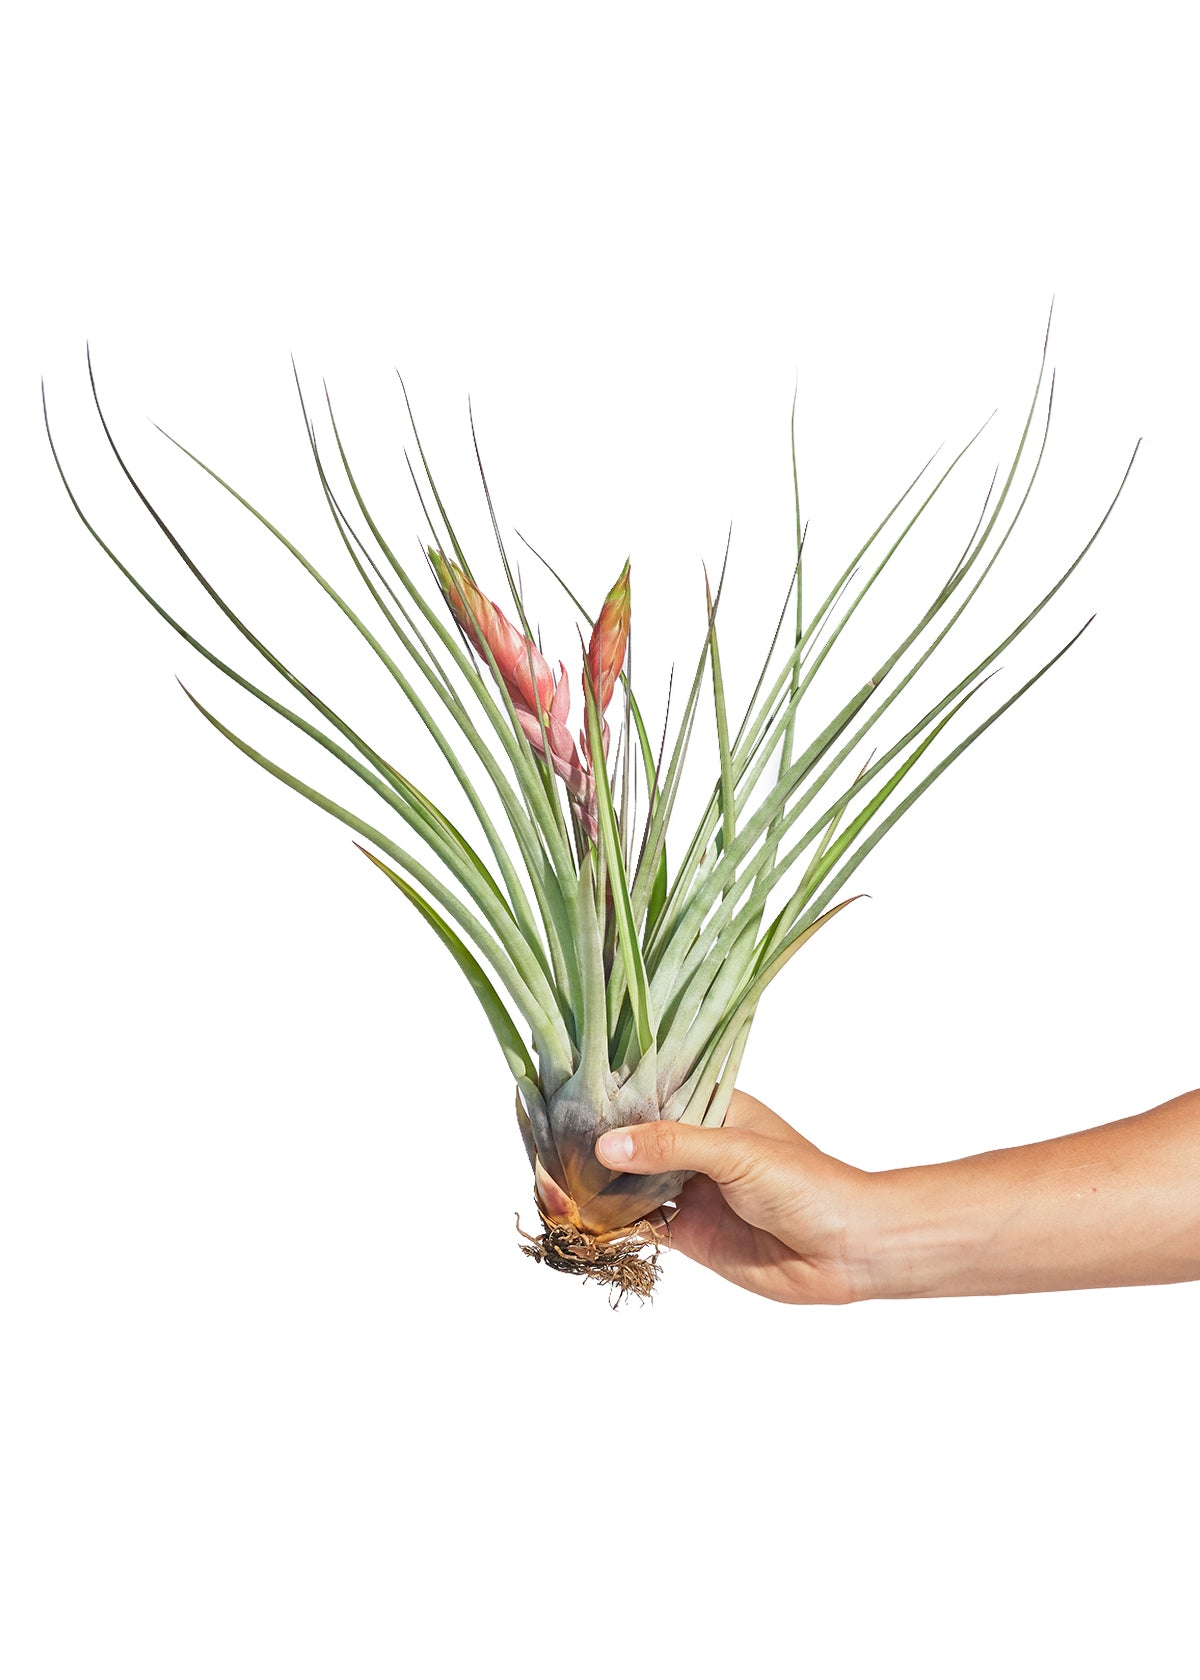
The secret to an air plant's survival lies in its trichomes. These small, hair-like structures on the leaves serve as the primary means of absorption, taking in moisture and nutrients from the air. Trichomes give many air plants a silvery or fuzzy appearance, particularly noticeable in species like Tillandsia tectorum.

Numerous Varieties to Discover
With over 650 species, the Tillandsia genus offers a stunning array of shapes, sizes, and colors, from the strikingly geometric Tillandsia xerographica to the delicate, feathery fronds of Tillandsia usneoides, commonly known as Spanish moss. Each variety has its own charm and set of care requirements, often influenced by their native environment.
Lifecycle of an Air Plant

Tillandsias experience a life cycle that includes a single bloom phase before dying. However, they leave behind a legacy through "pups," or offsets, which emerge from the base of the mother plant. With proper care, these pups grow and mature, continuing the cycle and expanding your collection.
Environmental Impact
As eco-friendly plants that don't require deforestation or soil cultivation, Tillandsias are an excellent choice for sustainable plant lovers. They embody the balance of beauty and conservation, bringing a piece of the wilderness into our homes without leaving a negative impact on the planet.
By inviting air plants into our living spaces, we're not just adding a decorative element; we're engaging with a remarkable form of life that challenges our traditional understanding of plant biology. As we delve further into their care, we'll discover just how rewarding nurturing these extraordinary specimens can be.
Lighting and Placement: The Key to Flourishing Air Plants

The Right Spot
Air plants thrive in bright, indirect light. The ideal setting mimics their natural habitat, under the canopy of trees, where sunlight is filtered. A north or south-facing window is often perfect, providing the soft light that encourages growth without the harshness that can scorch their leaves. If such a spot isn't available, fluorescent office lighting can also suffice, making them versatile for indoor environments.

When selecting a spot for your Tillandsias, consider their need for good air circulation. A stuffy, stagnant corner might lead to moisture accumulation, inviting mold or rot. Instead, opt for airy, open spaces where the air moves freely, and the plant can breathe.
If you're keen to give your air plants some time outdoors, ensure they're not in direct summer sun, which can be too intense. However, the gentle morning or late afternoon sun can be beneficial. Always acclimate them gradually to prevent shock from the change in conditions.
Seasonal Adjustments
As the seasons change, so should your approach to lighting. The lower light levels of winter might necessitate a closer spot to a light source, while the longer days of summer might call for a little more shade. Paying attention to the light quality and duration throughout the year will keep your air plants at their best.
For those without adequate natural light, artificial grow lights are a fantastic alternative. These can provide the full spectrum of light needed for photosynthesis, and with a timer, you can simulate a natural day/night cycle, ensuring your air plants don’t miss a beat.
Remember, the goal is to recreate the dappled light of a forest floor. Too much light and the leaves will fade and burn, too little and they may become dark and weak. Observing your plants and adjusting their position to find that sweet spot is part of the rewarding journey of growing Tillandsias.
With the right lighting, air plants can not only survive but truly thrive, offering a spectacular display of their unique beauty. In the following sections, we'll delve into watering and feeding, revealing more secrets to successful air plant care.

Watering and Humidity: Nourishing Your Air Plants
Understanding Water Requirements
Air plants (Tillandsia) have a unique method of absorbing moisture through their leaves instead of roots. This adaptation means they rely on a regimen that mimics the frequent rainfall of their natural habitat, which can range from heavy showers to misty droplets.
The Soaking Method
Once a week, submerge your air plants in room temperature water for 20-30 minutes. This soak is akin to a refreshing rain, hydrating every trichome on their surface. After their bath, shake off excess water and place them upside-down to prevent water from accumulating at their base, which could lead to rot.
Misting Between Soaks
In drier climates or heated homes, a mid-week mist can provide a much-needed humidity boost. Use a spray bottle to gently mist your plants, ensuring they get an even coating. This is especially vital for bulbous varieties that can trap water and benefit from misting's light touch.
Good airflow is essential for drying your plants properly after their soak or mist. Air plants should dry within four hours; lingering dampness can invite decay. Position them in a breezy area but out of direct, strong winds that could dehydrate them.
Adjusting to Your Environment
The frequency of watering will depend on your specific environment. In a humid bathroom or kitchen, your plants may need less frequent soaks, while air plants in arid or winter conditions might appreciate a little extra attention. Observing your plants is key; a healthy air plant has wide-open leaves while a dehydrated one appears curled or rolled.
Signs of Overwatering
While they love water, air plants can suffer from too much of a good thing. Brown or black leaves, a mushy base, or a foul smell are tell-tale signs of overwatering. If you spot these, reduce your watering frequency and ensure they have plenty of airflows to dry out.

Fertilization: Feeding Your Air Plant Family
The Need for Nutrients
In their native habitats, air plants derive nutrition from decomposing organic matter in rainfall, a luxury our home environments seldom replicate. Thus, a monthly feeding ritual with a specially formulated fertilizer can be the difference between a surviving and a thriving Tillandsia.
Choose a balanced, water-soluble fertilizer designed for air plants or bromeliads. These formulas contain the nitrogen, phosphorus, potassium, and trace minerals necessary for growth and flowering. Avoid standard plant food, which may be too strong and damage the delicate trichomes on their leaves.
Incorporate the fertilizer into your plant's watering routine. On your monthly soak, add the recommended amount of fertilizer to the water. This method ensures a gentle and even distribution of nutrients, akin to their natural uptake from rainwater.
Signs of Effective Fertilization
When well-fed, air plants reward you with lusher greenery, increased growth rate, and vibrant blooms. If your plants are producing pups, or offsets, it's a clear sign that they're getting the nutrition they need to not only grow but reproduce.
More is not always better when it comes to fertilization. Excessive nutrients can lead to chemical burn, visible as brown tips or patches on the leaves. If this occurs, give your plants a break from fertilizing and flush them with clear water at the next soaking.
The Role of Bloom Boosters
When your air plant is ready to flower, consider using a bloom booster to encourage and support this process. These fertilizers have a higher phosphorus content, which helps in the development of the inflorescence and the vibrancy of the flowers.

Troubleshooting Air Plant Care: Common Issues and Solutions
Issue 1: Browning Tips
Browning tips on an air plant can indicate dryness. Ensure your air plant is getting enough water, especially in a dry indoor environment. Mist more frequently or soak the plant for a longer period if you notice browning.
Solution: Increase watering frequency slightly or extend the soaking time. Trim any excessively brown tips with sterile scissors to maintain aesthetics.
Issue 2: Rotting Base
A rotting base is often the result of overwatering or insufficient drying post-soak. Air plants need to dry fully to prevent rot, especially in their base and center.
Solution: After watering, shake off excess water and place the plant upside-down to ensure complete drying. Reduce watering frequency and avoid letting the plant sit in water for extended periods.
Issue 3: Lackluster Leaves
If an air plant's leaves start to look dull, it could be craving more light or nutrients.
Solution: Move the plant to a brighter location with indirect sunlight and consider a monthly feeding with a bromeliad-appropriate fertilizer.
Issue 4: Pests
Though air plants are relatively resistant to pests, they can occasionally suffer from infestations of scale or mealybugs.
Solution: Isolate the affected plant to prevent spread. Treat with insecticidal soap or neem oil, following the product instructions carefully. Physical removal of pests with a cotton swab dipped in alcohol can be effective for minor infestations.
Issue 5: Slow Growth
Air plants grow slowly by nature, but if growth seems to have halted, the plant may not be receiving the proper care.
Solution: Ensure the plant is in an environment with adequate light, air circulation, and humidity. Review watering and fertilization practices to ensure they meet the plant's needs.
Keeping an eye on your air plants and responding promptly to the signs they give can prevent most issues. With the proper care, these resilient plants can thrive and bring a unique beauty to your space.
In our next section, we'll explore creative ways to display air plants, turning them into living art that enhances your home's decor.
Artistic Displays: Showcasing Air Plants as Living Decor
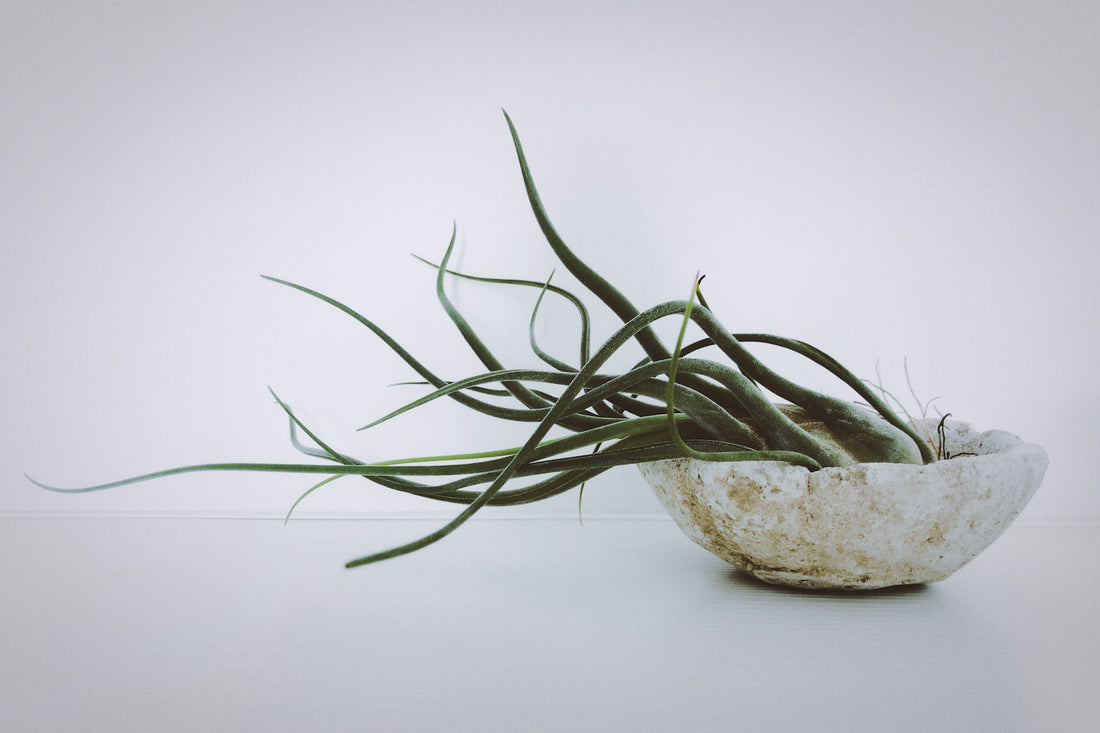
Air plants offer a unique opportunity to get creative with your home décor. Their soil-less nature means they can be placed in a wide variety of settings. Here are some imaginative ways to display your air plants:
Floating Terrariums

Hanging glass terrariums can give the illusion that your air plants are floating in mid-air. Place air plants inside glass orbs with some decorative pebbles, sand, or even shells for a minimalist yet stunning display.
Wall Mounts
Create a living wall art by mounting air plants on a decorative board or frame. You can arrange them in patterns or amongst other wall features for a dynamic visual effect.
Air Plant “Jellyfish”
Hang your bulbous air plants upside down from a piece of sea urchin shell or a small basket to create a whimsical “jellyfish” look. These can be strung up in groups at different heights for a full underwater effect.
Zen Gardens
Incorporate air plants into a small Zen garden. Pair them with stones, sand, and other low-maintenance plants like succulents to create a serene tabletop garden.
Vintage Vibes
For a touch of whimsy, place air plants in vintage teacups, wine glasses, or even old light bulbs. These can be grouped on a shelf or mantlepiece for an eclectic collection.
With air plants, the only limit is your imagination. These versatile botanicals can elevate any space, bringing life to shelves, walls, and tables. In our next segment, we'll discuss the importance of light for air plants and how to ensure they get just the right amount.


